New Transfer Resource Request (Resource Manager)
Getting the resources your school needs from the district is easy with transfer requests. Just submit your request to the district, and the district can send the request to any of its sites to be fulfilled.
|
Important: Before you can submit or respond to a transfer request, a Destiny Administrator must configure the SMTP server and allow sites to make requests |
- Select Catalog > Transfer Resources > Requests sub-tab.
- Click Add New Request.
- From the Find drop-down, select the resource type you need.
- Use the by drop-down to select how to search.
- Type your search term in the field, and then click Go.
Note: To search for a resource that currently has no items assigned to your school, deselect the Only my resources checkbox.
- Next to the resource you need, click Request.

- On the New Request page, enter the # of Items you need.
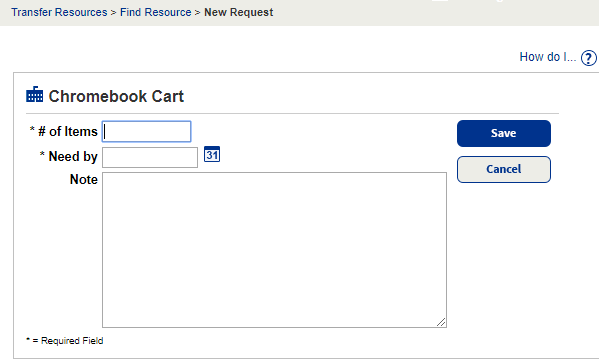
-
In the Need by field, type in the date you need the resources or use the
 to select the date.
 - To include details about the transfer request, type a maximum of 1000 characters in the Note field.
- To send the request, click Save.
The transfer request is sent to the district. See Process Transfer Request.