Add Title Record (Library Manager)
Some materials might seem challenging to catalog and add to your library’s collection, such as your school’s yearbook or a self-published collection of your students’ work. Library Manager’s Easy Editor makes manually adding any title record quick and easy.
Follett recommends searching for a record before adding a title record. The search is to verify there is not an existing record in your collection, Alliance Plus® Online or a Z39.50 server that meets your needs or only requires minor modifications.
- Select Catalog > Add Title.
- Use the Find drop-down to select the material type you want to search for.
- Use the with drop-down to select the type of search you want to conduct.
Note: Follett recommends you search by ISBN to ensure you are not duplicating records.
By default, you see the Easy Editor fields. You can choose to Use MARC Editor to add a title. MARC: Using the MARC standard, which is a MAchine-Readable Cataloging record, prevents duplication and lets libraries share bibliographic resources more easily.
- The MARC Editor shows all the fields in the MARC record.
- The Easy Editor lets you enter as much information as you can; Destiny fills in the corresponding tags of the title's MARC record.
- Both Editors include help for most of the fields.
Note: Fields marked with an asterisk (*) are required. Including more information in each field makes it easier for your patrons to find the material they are searching for.
If a title is not available in the district catalog, Follett’s Alliance Plus or Z-Source databases, the Add Title page opens.
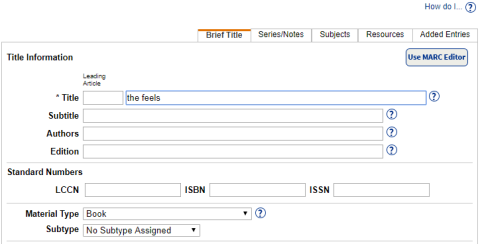
- On the Brief Title sub-tab, enter basic information about the title you are cataloging. You can find most of this information on the item’s title or copyright pages.
- On the Series/Notes sub-tab, enter information about the title’s series or volume, if available, and its interest level. If your school uses Lexile® measures or the Fountas and Pinnell program, you can also enter the codes here.

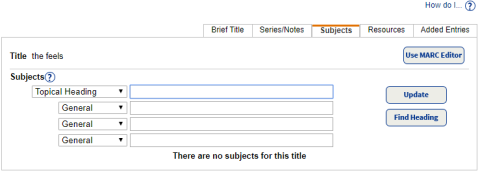
- On the Subjects sub-tab, enter subject headings. Click Find Heading to see a list of headings previously used in your library. These headings help your patrons find titles with a common topic.
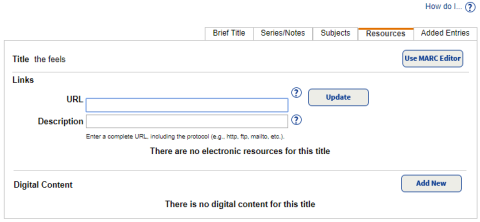
- On the Resources sub-tab, you can add links and a brief description for any related digital resources, such as websites.
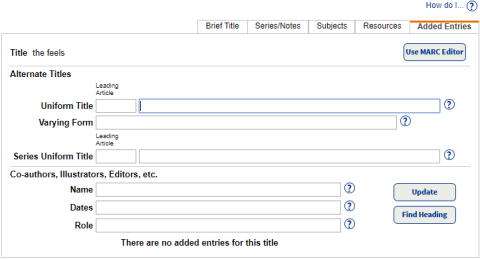
- On the Added Entries sub-tab, you can add a different title for the item or any co-authors, illustrators or editors.
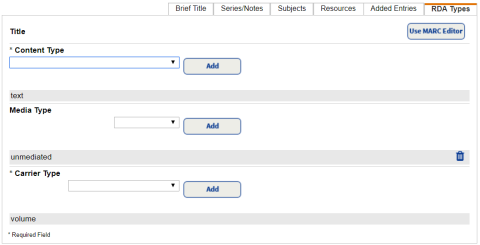
- On the RDA Types sub-tab, you can select content, media and carrier types from the drop-downs. Adding the RDA ( Resource Description and Access) types expands your patrons’ ability to find and access your library’s resources.
Note: Your district must have