Add Members to a Consortium Installation
Once you have set up and organized your Consortium installation, you are ready to add the members to it. A member can be either an entire district or a single site. On the Add Member page, you can either add a new member or attach an existing member to your installation.
|
Note: Remember that each member of a consortium installation is completely independent. |
Add a New Member
|
Note: You need the member's customer number to complete this task. |
To add a new member:
- Log in as a Super Administrator.
- Click Setup in the upper corner. The Update Destiny Installation page appears.
- Click the Members sub-tab, and then click the Add a Member icon,
 , at the top of the tab.
 - On the Add Member page, click the New sub-tab and enter the required information.
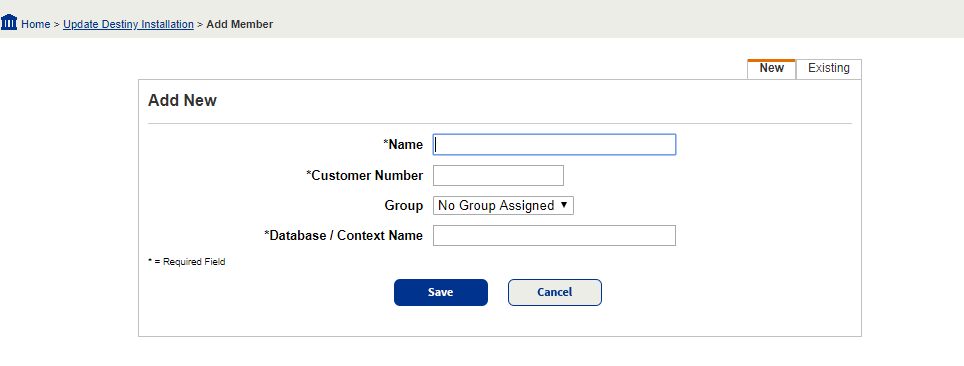
- Name: Enter the member's name as you want it to appear on the Welcome page.
Each member must have a unique name. - Customer Number: Enter the member's 7-digit customer number.
- Group: Select the group to which the member belongs, if applicable. You can make this assignment later.
- Database / Context Name: Enter a name for the member's database. The Database Server will also use this name. The name can only contain alphanumeric characters and no punctuation other than the underscore character. Each name must be unique.
- Name: Enter the member's name as you want it to appear on the Welcome page.
- Click Save when you are done.
You can access any member of your consortium, and perform all administrative tasks, while logged in as a Super Administrator.
Attach an Existing Member
If there are districts or sites that are currently running their own installation of Destiny, it is possible to add them to your consortium as members.
To attach an existing member:
- Verify that the consortium and the member-to-be are running the same version of Destiny.
- If the other installation is on another server, copy its \districtresources folder to a temporary location.
- Rename the \districtresources folder to \districtresources.<contextname>.
The web server uses a context name to identify each member. Typically, the context name is the same as the database name. The context name can contain only alphanumeric characters and the underscore character. Each context name must be unique. - Copy the renamed folder to the consortium server's \FSC-Destiny\FSC folder.
- Copy the member database to the consortium database server. Set the Super Administrator as the owner.
- On the Add Member page, click the Existing sub-tab and enter the required information.
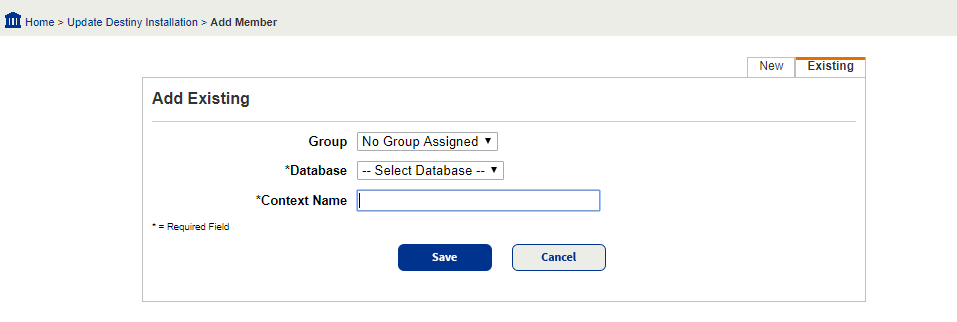
- Group: Select the group to which the member belongs, if applicable. You can make this assignment later.
- Database: Select the name of the member's database that you want to add.
- Context Name: Enter the context name you assigned (in step 3, above) to the selected database.
- Click Save when you are done.
If you attached existing members to your installation, any sites that had been set up for that member are ready to use.